
Imagine having a top-notch telecom lab at home. It’s a game-changer for learning, testing, and trying out new ideas.
Many think it’s too pricey or too hard. But, it’s actually doable with the right plan and budget.
This guide will show you how to set up a lab. You’ll learn about 5G Core networks, SD-WAN for cost management, and fiber optics.
It’s for network engineers, IT students, and tech fans. You’ll feel ready to tackle big projects and build a strong portfolio.
Let’s start by looking at the main parts and making a simple, step-by-step plan.
Lab Goals and Constraints: skills, budget, space, power/noise
Your lab’s design is shaped by your skills, money, and space. Skipping this planning can lead to big mistakes and unfinished projects. A clear plan helps match your learning goals with what you can build and keep up.
This smart approach, based on expert testbed designs, shows you don’t need a huge data center. Being creative with simple hardware is key. Let’s look at the four main things you need to figure out before you start spending money.
Skills
Be honest about your current tech skills and what you want to learn. Are you aiming to get good at 5G core networks, SD-WAN, or fiber optic work? Your starting level will decide how complex your lab will be.
Virtualization and Kubernetes are essential skills for a modern telecom lab. They let you run many network functions on one machine, saving you money. If these are new to you, plan to spend time learning.
Ask yourself these questions:
- What is my comfort level with Linux command line and networking concepts?
- Have I worked with virtual machines or containers before?
- Do I understand basic IP routing and switching?
Start with what you’re comfortable with and plan to grow. For more on where these skills fit, check out this overview of the telecom industry.
Budget
Your budget is the most flexible, yet most important, limit. A good budget focuses on the core computer. A strong mini-PC or a single used server can host your virtualization setup.
Here’s how to spend your money:
- Core Compute: A mini-PC or small server ($300-$800).
- Networking: A managed switch for VLANs ($50-$150).
- Specialized Hardware: Software-Defined Radio (SDR) for 5G or optics tools come later.
Remember, the biggest cost is the hardware, not the software for 5G cores and SD-WAN trials.
Space
Where will your lab go? A desk corner, a small rack, or a dedicated closet? The space you have will decide the size of your lab. Mini-PCs and “pizza box” servers are perfect for small spaces.
Think about airflow and cooling. Putting equipment in a tight space without air can cause overheating and damage. Make sure there’s room for cables and future growth. A tidy space makes fixing problems easier.
Power/Noise
This is a big problem for home labs. Enterprise servers are very loud. Their fans are like jet engines, which is too loud for a home. They also use a lot of power, which can overload your home’s circuits.
Choose quieter, consumer-grade hardware or special “silent” server cases. Check the power supply unit (PSU) rating and your wall circuit’s capacity. A typical home office circuit can handle 15-20 amps, but a power-hungry server, switch, and monitor might use too much.
Managing noise and power isn’t just about comfort; it’s about keeping your gear and your sanity.
Core Stack: mini‑PC/NUC, hypervisor, nested K8s, storage/network plan
Your lab’s success depends on its core computing setup. This setup is key to running modern network functions well. A well-thought-out design is essential for 5G core demos and working with software-defined radio.
mini‑PC/NUC
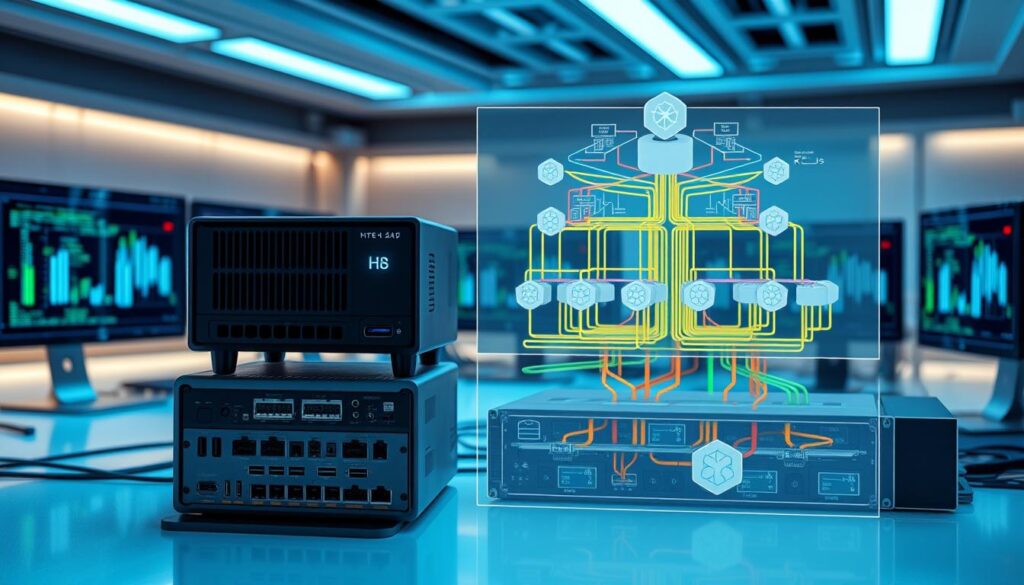
Small computers are great for building your lab. Intel NUCs or similar devices offer a strong CPU, RAM, and connectivity in a small, energy-saving package.
Choose models with 6 cores, 32GB RAM, and several NICs. This setup efficiently runs virtual machines and containers. It’s how pros test gNB software and network cores.
Hypervisor
The hypervisor layer adds flexibility. It lets you run many operating systems on one machine. Popular choices include VMware ESXi, Proxmox VE, and KVM.
Proxmox is popular for labs because it’s open-source and easy to use. A hypervisor helps you snapshot VMs, clone systems, and test network setups quickly. This is key for trying out different 5G core demos setups.
Nested K8s
Modern telecom networks are cloud-native. To mimic this, install a Kubernetes cluster inside your VMs. This is called nested Kubernetes.
Your nested K8s cluster will host network functions. You can deploy open-source 5G core projects like Open5GS or free5GC as containers. This setup is like how big networks, like Aether’s 5GC, are set up. It’s great for learning container orchestration in telecom.
Storage/Network Plan
Plan your storage and networking carefully to avoid bottlenecks. Use fast SSDs for VM and container images. If you can, use network-attached storage for backups.
Your network plan should separate traffic. Create at least three logical networks:
- Management Network: For hypervisor and K8s API access.
- Control Plane Network: For signaling traffic between 5G core functions.
- User Plane Network: For simulated user data traffic.
This separation is key for performance and realism. It also prepares your lab for SDR hardware, which will connect to the user plane. A good storage and network plan turns parts into a professional testbed ready for any experiment.
5G Core/NR Demos: open‑core options, SDR basics, spectrum cautions
Exploring 5G core network demos offers real insights into mobile tech. It’s where theory meets practice. You’ll learn to set up software that acts like a real carrier network.
You’ll get to see call flows, network slicing, and session management up close.
Good demos use a software core network with a simulated or software-defined radio access layer. This setup lets you test everything from registration to data sessions safely in your lab.
Open-Core Options
Several strong open-source projects are the base for 5G core demos. Your choice depends on 3GPP release support and how complex you want the setup to be. The main players are OpenAirInterface (OAI), Open5GS, free5GC, and Aether.
OpenAirInterface is a full suite with 5G Core (5GC) and RAN software. It’s powerful but harder to learn. Open5GS is lighter and easier to start with. It supports 4G EPC and 5G core functions.
free5GC is a pure 5G core written in Go. It’s modular and well-documented. Aether, backed by the Open Networking Foundation, offers a cloud-native, enterprise-focused 5G core platform.
For the Radio Access Network (RAN), a software simulator is often the best start. UERANSIM is a popular open-source tool. It creates virtual User Equipment (UEs) and a gNodeB simulator. This lets you test network attachment and data sessions without any radio hardware.
| Project | Primary Language | 3GPP Focus | Deployment Complexity | Best For |
|---|---|---|---|---|
| OpenAirInterface (OAI) | C | Releases 15 & 16 | High | Deep protocol research |
| Open5GS | C | Release 15 & 16 Core | Medium | Balanced learning & prototyping |
| free5GC | Go | Release 15 | Medium | Cloud-native architecture studies |
| Aether | Various | Release 16+ | High | Enterprise & edge cloud scenarios |
| UERANSIM (RAN Sim) | C++ | Release 15 | Low | UE & gNB signaling tests |
SDR Basics
To go beyond simulation, you might explore the physical layer with Software-Defined Radio. An SDR is a device that can send and receive radio signals. Its function is defined in software, making it very flexible.
Common entry-level SDRs include the RTL-SDR dongle and the HackRF One. For more advanced 5G experiments, devices like the USRP from Ettus Research are top choices. These tools connect to your lab server via USB or Ethernet.
The software side often involves frameworks like GNU Radio. This toolkit provides signal processing blocks to build custom radio systems. With an SDR, you can learn about waveform generation, signal modulation, and basic over-the-air transmission. It turns your computer into a versatile radio lab instrument.
Spectrum Cautions
This is the most critical part of your 5G core demos. Transmitting radio signals without a license is illegal. In the United States, the FCC strictly regulates all spectrum use. Unauthorized transmission can result in severe fines and legal action.
Always keep your SDR in receive-only mode unless you are in a fully shielded, legally approved environment. For almost all learning purposes, a simulated RAN is not only safer but also more effective. Tools like UERANSIM provide a complete software-based gNodeB and UE.
For example, you can use UERANSIM with Open5GS to fully emulate a 5G standalone network. The simulator handles the complex NR signaling. You can then trace the entire process of a UE registering and establishing a PDU session. This gives you the operational knowledge without any legal risk. Your lab should prioritize learning network logic and protocols first. Physical radio experimentation should be a deliberate, advanced step taken with full awareness of the rules.
SD‑WAN Trials: PoCs with cloud hubs, shaping, overlays
Use cloud hubs and traffic policies to test your WAN in a lab. This SD-WAN trial shows how it can cut costs and manage traffic better. You’ll build a small proof-of-concept that proves the tech’s benefits.
PoCs with cloud hubs
Begin your Proof-of-Concept by setting up virtual cloud hubs. Use free services from AWS and Azure for your lab. Create a Virtual Private Cloud (VPC) or a virtual WAN (vWAN) instance as your secure gateway.
Connect your lab nodes to this hub with a VPN. This setup shows how SD-WAN can replace expensive MPLS links with internet connections. It’s a real-world example of how it works.
Your goal is to show how application traffic moves efficiently between your lab and the cloud. This proves SD-WAN’s agility and cost savings.
Shaping
Real networks face challenges. To make your SD-WAN trial realistic, simulate these with traffic shaping. This enforces policies that mimic network constraints.
Use the tc command on Linux nodes to shape traffic. You can limit bandwidth or add delay. Some SD-WAN software also has shaping features.
By applying these policies, test how your SD-WAN software manages traffic. Does it reroute video conferencing to a faster path? Does it handle bulk backups when bandwidth is free? This smart management is key to saving costs.
Overlays
The last step is creating a secure overlay network. This network is built on top of your physical and cloud links. It securely connects your lab to the cloud hub and between lab nodes.
For your lab, consider IPsec or WireGuard for secure tunnels. Both are open-source and don’t require licenses. This overlay shows SD-WAN’s advantage of creating a secure network without changing the internet.
Your complete SD-WAN trial—with cloud hubs, shaped traffic, and secure overlays—proves how this technology works and its value.
Fiber/Optics Practice: sims, power budgets, connectors, OTDR rentals
While software-defined networks get a lot of attention, fiber optic cabling skills are in demand. This is where theory meets the real world. Your lab can teach you about light transmission, signal loss, and finding faults without a big budget.
sims
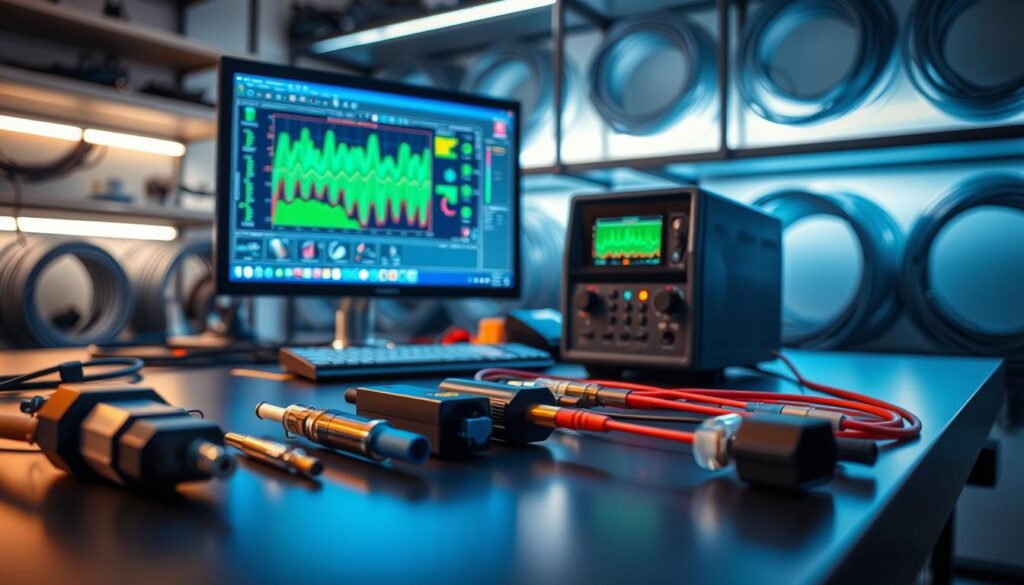
Start with software before working with expensive fiber. An optical sim (simulation) tool lets you model signal propagation and loss safely. These programs help you understand how different fibers, splices, and connectors affect light signals.
Popular options include OptiSystem and VPItransmissionMaker. They show you concepts like dispersion and attenuation. Using an optical sim helps you understand complex ideas. It turns hard equations into easy-to-understand graphs and results.
power budgets
Every fiber link has a power budget. This is the total loss of signal from transmitter to receiver. Calculating it is a key engineering task. You need to consider every element that reduces light power.
Here is a simple table for a sample link budget calculation:
| Component | Loss (dB) | Notes |
|---|---|---|
| Transmitter Output | 0.0 dBm | Reference power level |
| Connector (LC) | 0.3 dB | Loss per mated pair |
| Fiber (per km) | 0.4 dB | Depends on fiber grade |
| Splice | 0.1 dB | For a fusion splice |
| Receiver Sensitivity | -20 dBm | Minimum power needed |
Add all the losses. Make sure the total is less than the difference between transmitter output and receiver sensitivity. This is key for designing reliable links.
connectors
Learning to terminate fiber is best done by practicing. Get a practice kit with bulk fiber, LC and SC connectors, a cleaver, and a crimp tool. Your goal is to make a clean, low-loss connection.
Follow these steps for a basic LC connector termination:
- Strip the fiber jacket carefully with a precision stripper.
- Cleave the fiber end to create a perfectly flat surface.
- Insert the fiber into the connector ferrule and secure it.
- Inspect the end face under a microscope for cracks or dirt.
A good microscope is essential. Look for smooth, defect-free cores. This hands-on practice is invaluable for understanding real-world installation challenges.
OTDR rentals
An Optical Time-Domain Reflectometer (OTDR) is the ultimate tool for characterizing fiber. It finds faults, measures loss, and certifies links. Buying one is too expensive for a lab.
The smart solution is short-term rental. Companies like Rentex or Leasotron offer weekly rates. For about the cost of a good mini-PC, you can rent a professional OTDR for a week.
Use that week intensively. Test your homemade patch cords, measure loss across splices, and simulate breaks. Document the trace results. This experience with real OTDR data is a powerful addition to any network engineer’s portfolio.
Safety for RF/optics and ESD handling
Keeping yourself and your gear safe is key. You need to know about RF/optical safety and electrostatic discharge. These are must-know lab rules for pros. They keep you safe and save you from expensive damage.
Safety for RF and Optical Energy
Even low-power lab tools can be dangerous. For RF work, never hold or get too close to an antenna. Always close unused RF ports.
Use a basic RF power meter to check if the power is safe. Know your local spectrum laws to avoid illegal signals.
Optical safety is also critical. Never look into a fiber optic connector or port. The invisible infrared light can hurt your eyes badly.
Always use caps on optical ports when not in use. Test with an optical power meter before connecting. Wear laser safety goggles for 1310nm and 1550nm wavelengths.
Electrostatic Discharge (ESD) Handling Procedures
ESD can quietly destroy your electronics. A small shock can ruin your SDR, network card, or optical transceiver. Carpets, clothes, and dry air are big ESD risks at home.
ESD safety starts with grounding. Wear an ESD wrist strap before touching any sensitive part. The strap must be connected to a grounded object, like your lab equipment.
Handle components on an ESD-safe mat. This mat helps discharge static. Store transceivers and boards in conductive bags or anti-static foam.
Make it a habit to ground yourself first. Then, take the component from its packaging to the mat. This simple step protects your equipment.
| Equipment Type | Primary Use | Key Feature | Approx. Cost |
|---|---|---|---|
| Laser Safety Goggles | Eye protection during fiber optic inspection/testing | OD 5+ rating for 1310/1550nm wavelengths | $40 – $100 |
| RF Power Meter | Verifying safe transmit power levels from SDRs | Frequency range covering your lab’s bands (e.g., 2.4GHz) | $50 – $200 |
| ESD Wrist Strap | Grounding the user to prevent static discharge | Adjustable band with 1MΩ resistor for safety | $5 – $15 |
| ESD Mat | Providing a safe work surface for components | Two-layer construction with ground cord attachment | $20 – $60 |
Following these safety protocols makes your workspace safe and professional. The right gear and habits save you from big problems. You can focus on learning, not fixing mistakes.
Documenting Results: diagrams, configs, repeatable tests for a portfolio
Your lab work becomes more valuable when you document it well. This step turns your hands-on work into proof of your skills and thoroughness. It helps you move from personal projects to a professional career.
Diagrams
Good network diagrams are key for clear communication. Tools like draw.io or Lucidchart help create detailed layouts. These diagrams show your design and system structure, making complex projects easy to understand.
Configs
Keep all setup files in a version-controlled system. Git is great for tracking changes and going back to previous versions. This shows you can work well in a team and follow professional standards.
Repeatable Tests for a Portfolio
Create test plans with clear steps and goals. Record your results for each test, from power budgets to network slicing. These consistent results are the heart of a strong portfolio. It proves your skills to employers. By continuously improving, you turn lab work into valuable career assets.